This guide will introduce you how to implement Unity’s WebGL with WebSocket. For now, we have already finish “WebSocket.jslib” in Part1.
Part2
Create New Project in Unity
First, we start with create new Unity Project, then we delete all GameObject and Camera.
After that, we need to create a GameObject name "WebSocketGameObject".
This GameObject will connect to javascript plugin. If you have different name, please make sure you to change your GameObject name.
Create C# script
After that we will create the main class for Unity to use WebSocket
You can find the attached below, "WebSocket.cs". After finished it, drag and drop it into "WebSocketGameObject".
Then run the project to check that we got some buttons on the screen.
//Copyright (c) 2015 Gumpanat Keardkeawfa | |
//Licensed under the MIT license | |
//Websocket C# for UnityWebgl | |
using UnityEngine; | |
using System.Collections; | |
using System.Collections.Generic; | |
using System.Runtime.InteropServices; | |
public class WebSocket : MonoBehaviour { | |
#region WebSocketJSLib Implement | |
Queue<string> recvList = new Queue<string> (); //keep receive messages | |
[DllImport("__Internal")] | |
private static extern void Hello(); //test javascript plugin | |
[DllImport("__Internal")] | |
private static extern void InitWebSocket(string url); //create websocket connection | |
[DllImport("__Internal")] | |
private static extern int State(); //check websocket state | |
[DllImport("__Internal")] | |
private static extern void Send(string message); //send message | |
[DllImport("__Internal")] | |
private static extern void Close(); //close websocket connection | |
//For Receive Message, this function was call by plugin, we need to keep this name. | |
void RecvString(string message){ | |
recvList.Enqueue (message); //We will put the new message to the recvList queue. | |
} | |
//For Receive Message, this function was call by plugin, we need to keep this name. | |
void ErrorString(string message){ | |
//We can do the same as RecvString here. | |
} | |
#endregion | |
void Start () { | |
Hello (); //We start with testing plugin | |
StartCoroutine("RecvEvent"); //Then run the receive message loop | |
} | |
//Receive message loop function | |
IEnumerator RecvEvent(){ | |
int j = 0; | |
InitWebSocket ("ws://echo.websocket.org/"); //First we create the connection. | |
while (true) { | |
if (recvList.Count > 0) { //When our message queue has string coming. | |
Dispatch(recvList.Dequeue()); //We will dequeue message and send to Dispatch function. | |
} | |
yield return null; | |
} | |
} | |
//You can implement your game method here :) | |
void Dispatch(string msg) { | |
string[] splits = msg.Split(' ') ; | |
switch (splits[0]) { | |
case "turn" : | |
//DO SOMETHING | |
Debug.LogWarning("Turn "+splits[1]); | |
break; | |
default : | |
Debug.Log("Distpatch : "+msg); | |
break; | |
} | |
} | |
//For UI, we defined it here | |
void OnGUI() { | |
if (GUI.Button(new Rect(10, 10, 150, 30), "Helllo,World")) | |
Send("Helllo, World"); | |
if (GUI.Button(new Rect(10, 60, 150, 30), "Turn Right")) | |
Send("turn r"); | |
if (GUI.Button(new Rect(10, 110, 150, 30), "Turn Left")) | |
Send("turn l"); | |
} | |
} |
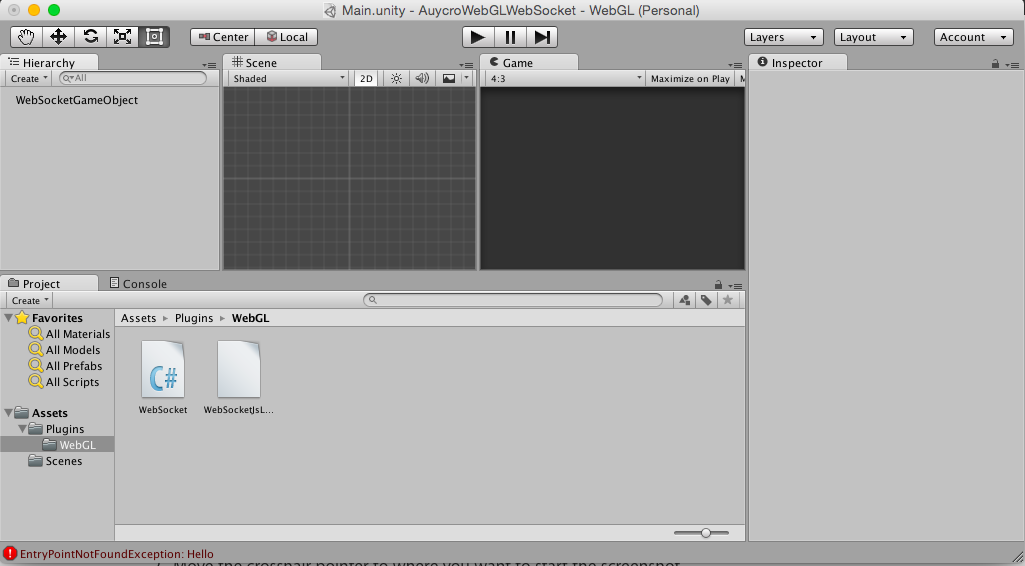
Add Javascript Plugin to Project
Then, put WebSocket.jslib file into the asset folder. Now your project should similar to a below picture.
Let's Build and Try
Now it's your turn to build the project and try it your self. You can find the result in Javascript Console. Cheers!!!
PS. You might need server to run your WebGL project.
For me, I use NodeJS as the webserver. you can find the detail in Reference. :)
Reference: webgl-interactingwithbrowserscripting simple node webserver